Saturday, September 14, 2013

Not-yo'-nacho cheese sauce, baby!

NACHO CHEESE...

I actually prefer vegan nacho cheese.  I truly don't think the difference is all that noticeable.  Well, nacho cheese can be sort of a staple in regards to Mexican food.  I often drizzle it on my black beans and rice or on a burrito.  Lately, I've been really busy teaching the future of tomorrow and just haven't had the time to do the things that feed my soul, like cooking.  The good news is that I've been indulging in lots of raw food. I've eaten a salad almost every single day.

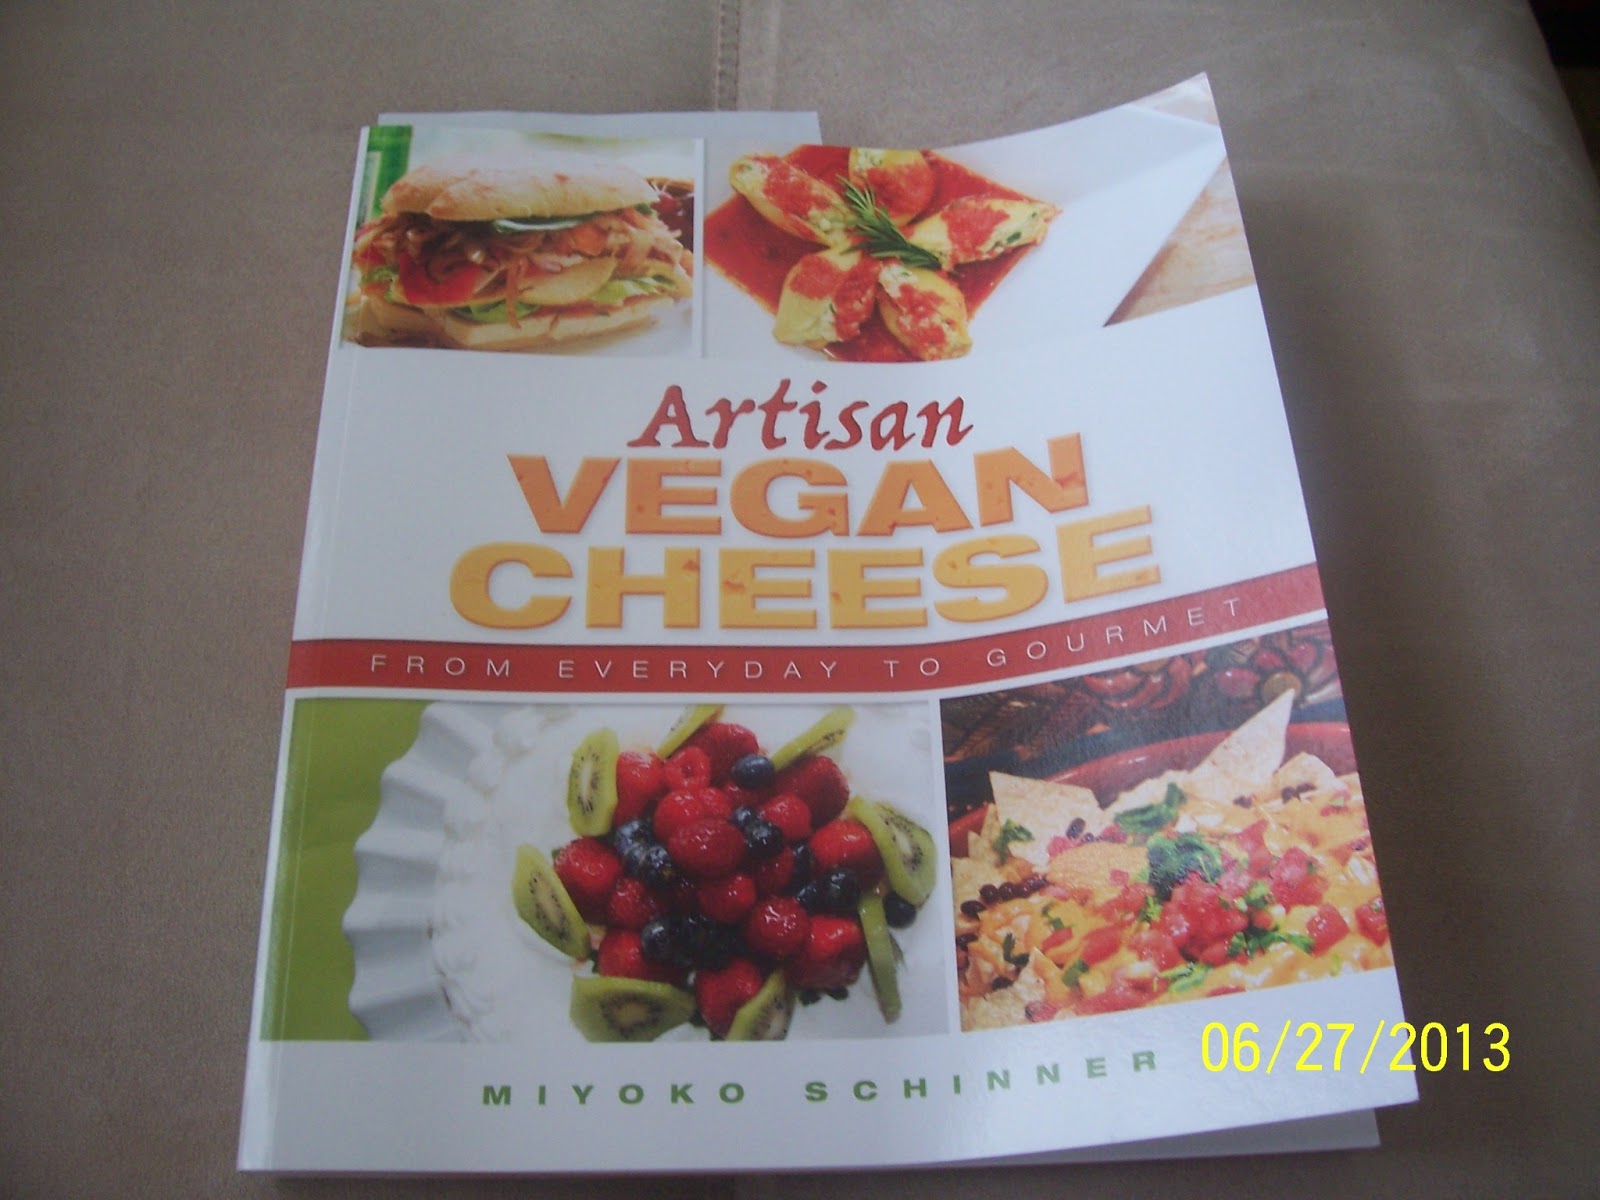
Tonight, I found myself longing for more.  I was in need of some corn chips sprinkled with a fountain of  nacho cheese sauce.  "Yes, please!"  There's lots of vegan nacho recipes online, but lately, I am committed to trying different recipes from my various vegan cookbooks.  So, I decided to try a recipe from Skye Micheal Conroy's book, "The Non-Dairy Formulary."  Just like many vegan chefs, his cheese recipes center around soy milk and nutritional yeast.
Tonight's nachos are courtesy of Skye Micheal Conroy.

I knew that I would not hate it, so I got the blender and whipped up a batch. I had to cook his for about 15 minutes though, until the mixture became creamy, bubbly, and shiny.
Cook until bubbly and shiny.
Put all the ingredients in the blender.

It was worth the wait though!  I thought I'd share the pictures with you!  You may purchase his book on Amazon or at any local bookstore.

I decided to continually try recipes from the current vegan cookbooks to share which ones I love and which ones I'd never make again.  This one, I'll make it again because it is to taste.  You may add the amount of heat you want and the amount of salt you want.  I actually stuck to the recipe this time and did not veer from it.  Next time, I may try this with coconut milk instead of soy.

So, though this was "not-yo'-nacho" cheese sauce, it was very much like your nacho cheese sauce.  I am extremely happy to have my cravings for nachos satisfied the vegan way!

If you have any questions, go ahead and ask away!

Monday, July 22, 2013

Quinoa for the being you are ("ah")!

QUINOA...

One of my mother's favorite whole grains is quinoa.  You can use it as a substitute for rice or pasta.  Today, I decided to make a garlic herb recipe, which I usually use with couscous.  In truth I think quinoa taste very similar to couscous, which is a pasta product.

Organic Quinoa is a whole grain food.

Quinoa is a whole grain food.  As a whole grain, it is found in sprouted spreads, whole grain breads, cereals, and even muffins.  It has been processed as pasta because it taste very similar to pasta.  Personally, I prefer quinoa in its whole form, usually found in breads, cereals, and cooked as is.  I'm really not a fan of the processed pasta products.  Now, many gluten-free folks may enjoy the pasta, but I love spelt pasta better than quinoa.

Quinoa is a low-fat, no cholesterol food. It is high in protein with one cup having as much as 8.5 grams of protein.  It also contains 5 grams fiber per serving.  Though it is a energy food with high carbohydrate, it is nutritionally beneficial with an array of vitamins (Vitamin C and Vitamin B-12) and minerals (Calcium, iron, magnesium, potassium, sodium, and zinc).  As always, google for yourself the wonderful benefits of quinoa!

Not only does the below dish taste great, it is packed with nutrition from the fresh basil, thyme, and parsley in it from my herb garden.  I have blogged about these ingredients already.  If you have not done so, be sure to start in herb garden.  It is pretty easy to maintain and that benefits of having one is priceless.  Now, without further ado, here's today's recipe.

Garlic, onions, lemon thyme, parsley, and basil.

GARLIC HERB QUINOA (Vegan)

Ingredients:

  • 1 cup uncooked Quinoa
  • 1 1/2 cups Imagine's No-Chicken Broth (or vegetable broth)
  • 1/2 cup water
  • 1/4 cup onion, diced
  • 2 cloves garlic, minced
  • 2 tbsp fresh basil, chopped
  • 2 tbsp fresh parsley, chopped
  • 2 tsp fresh lemon thyme, chopped
  • 1/4 tsp salt
  • 1/4 tsp black pepper
  • 1 tsp fresh lemon juice
  • 2 tsp Smart Balance butter (Use 1 tsp to saute onions and garlic and 1 tsp after)

Instructions:
  1. Combine quinoa, broth, and water in a pot over and bring to a boil.  Boil for 2 minutes. Reduce heat to simmer, cover, and cook for 15 minutes.
  2. In a saucepan, sauté onions and garlic over medium heat until soft, about 5-7 minutes, then set aside.
  3. Once quinoa is finished cooking, pour in sautéed onions and garlic, 1 tsp of Smart Balance, lemon juice, salt, pepper, and herbs.   Combine thoroughly and serve.


Garlic herb quinoa ready to serve.  Yum!

NOTE:  You may also use olive oil for this dish, but if you do, increase salt amount to taste.

###

I hope you enjoy this dish as much as I have.  If you do, I'd love to hear from you!

Friday, July 5, 2013

Vegan Olive Gardenish salad dressing. Yay!

OLIVE GARDEN DRESSING...

Okay, ask anyone who knew me in college and, hands down, my favorite restaurant was the Olive Garden. Back then the eggplant parm and the manicotti with all of the salad I could eat were my absolute favs.  Back then (and I'm not going to tell just how far "back then" was or I would commit the abominable for women, especially women my age) the Olive Garden was very expensive.  Sometimes I would only have the salad ($4.00) and bread sticks.  I would still be absolutely happy with just that selection.

However, anyone who truly knows me knows that I love to make anything that I love in restaurants at home.  In truth, I hate to eat out because of shows like "Mystery Diners" or "Restaurant Stakeout."  Additionally, you really never know what truly goes into your food (you may think it's vegan, but it's really bugs, oysters, or has chicken stock in it).  I truly enjoy knowing what's in my food.  Therefore, it's only natural to try to replicate things.

For the main salad, you want iceberg lettuce as the main base, but I also cut up about a head of romaine because I think it's more nutritious than just iceberg.  Next, cut up a tomato or a half cup to a cup of grape tomatoes, olives, and a half of a small onion (thin slices).  You may optionally throw in a few jalepeno peppers.  Lastly, some Italian seasoned croutons will nicely round out this salad.  Wait!  You're not done yet, because now you must add the dressing (to taste) to the bowl.

OLIVE GARDENISH DRESSING (Vegan style)

In a separate container make base dry mix or use Good Seasonings Italian Dressing packet:
1 tablespoon garlic salt
1 tablespoon onion powder
1 tablespoon sugar
2 tablespoons oregano
1 teaspoon Monk's pepper
1/4 teaspoon thyme
1 teaspoon basil
1 tablespoon parsley
1/4 teaspoon celery salt
2 tablespoons salt

Dressing Mixture:
1/4 cup cider vinegar
2/3 cup olive oil
2 tablespoons water
2 tablespoons dry mix
½ teaspoon sea salt
½ teaspoon sugar
½ teaspoon Italian seasoning
¼ teaspoon garlic powder
¼ teaspoon Monk's pepper
½ tablespoon vegan mayo
1 ½ tablespoons water
2 tablespoons apple cider vinegar
¼ cup cold-pressed extra virgin olive oil

Instructions:
  1. Pour Good Seasonings Italian packet into a jar and go to step #2 or in mixing bowl, combine all ingredients for dry mix.  Then store in an airtight container.  Use only 2 tablespoons for this recipe. (I always make my own dry mix because I am not fond of all of the stuff in the Good Seasonings packet, but if you don't mind, then you can use that.)
  2. Next, combine dressing mixture in a jar.  Cover and shake vigorously. 
  3. Pour on top of lettuce, tomatoes, onions, olives, and croutons and enjoy!


Yesterday and today, I had a hearty salad with the Olive
Gardenish dressing.  Yum!!!
Note:  You may add all of this to a mason jar and shake vigorously.

###

I hope you like this recipe.  If you don't think it is an exact match, then I hope you think it's pretty close. Enjoy!  

Tuesday, July 2, 2013

Strawberry lemonade that's above grade!

STRAWBERRY LEMONADE...

Just the other day, my little niece handed me a red-colored drink, which seemed like paradise in a cup when I tasted it.  On that hot day, this cool strawberry lemonade hit the spot all over!  I was hooked.  I even admit that I've had it every day since.  I'm promising to stop making this drink once I run out of strawberries, which will be in the next day or so.  I feel as if I'm addicted.  I really hate that feeling.

However, it's good to have good things in moderation.  I will probably limit my intake of this drink to no more than twice a week.  This recipe is super easy to make and that could be why I'm so addicted.  If my buds are craving sweets, I turn to this drink and I'm satisfied.  It's that yummy!!! This has me wishing that I owned my own strawberry farm and lemon trees.

Strawberries and lemons are simply good for your health.  I know that I told you about them in other blog posts, but now I will probably recount how lemons and strawberries are so good for you.  Lemons contain vitamins (Vitamin A, Vitamin B-6, Vitamin C) and minerals (calcium, copper, iron, magnesium, phosphorus, potassium, and zinc).  They also provide a boost to the immune system, fighting sickness, due to their antibacterial and anti-inflammatory properties.  Strawberries also contain vitamins and minerals and  boost the immune system with phytonutrients that help fight diseases, such as cancer and heart disease. They are also high in fiber and low calorie.   As always, google the amazing nutritional and health benefits of lemons and strawberries for yourself!


Now, let me give you the ingredients to this super-easy and tasty drink.  It's literally dessert in a glass!


NAE-NAE'S STRAWBERRY LEMONADE
Servings: 1

Ingredients:

  • 1 organic lemon, juiced (or an organic lime may be an adequate substitute)
  • 6 organic strawberries, medium to large  (throw in seven if you want)
  • 1 tablespoon vegan organic cane sugar (or 2 teaspoons agave, light raw honey)
  • 1/4 cup ice (more if desired)


Instructions:

  1. Combine all ingredients in a high speed blender or Nutri-bullet.  
  2. Blend until smooth or desired consistency is obtained.  

Using less ice makes this strawberry lemonade a drink.

Note: The more ice, the more of a slushy you get (see below photo).  The less ice, the consistency is more liquid-y (see above photo).

Adding more ice makes a strawberry lemonade slushy! Yum!

###

Enjoy it!  I think I'll have me another one!  It is better than any strawberry lemonade I've had at a restaurant. I  have the ripe, juicy strawberries right now and that may be the key thing!  If you like this drink as much as I do, I'll love to hear from you!  Again, enjoy! Salud!

Monday, July 1, 2013

Cheese please! Vegan muenster that makes you wonder!

MUENSTER VEGAN CHEESE...

In my vegetarian college years, I would eat muenster cheese by the block.  I loved the stuff.  It had the softness and saltiness I craved.  However, the sickness that followed my cheese consumption was never favorable to me and feeling bad is never wonderful. Therefore, once college ended, I heavily slowed my cheese consumption.  I read once that cow cheese was so damaging to the body that it should not even be considered food.  We stomach it because it tastes so good, especially since most folks have a degree of lactose intolerance. 

For anyone who ever saw a documentary on dairy cheese and how it's made, the reasons for not eating cheese (or any dairy for that matter) are obvious.  If you've never watched a documentary on cheese, I highly encourage you to do so.  Now-a-days, even vegetarians have come to realize that cheese can be made with animal rennet and they have to be cautious of which cheeses are made with this animal ingredient.  Many of us know that cheese is a mucus-forming substance, and debilitates many people with asthma, sinusitis, and other mucus-related ailments; but the taste keeps us coming back.  Many of us would be vegan except that we love dairy so much.  I understand.  I REALLY do.  In my undergraduate college years, I'd joke with friends that I had turned into a mouse because I ate so much of this stuff.  However, now, I am striving to be rid of all animal by-products for a healthier lifestyle; and therefore, I have been looking for palatable alternatives to dairy and cheese.

So, here's where I'm at right now.  Most vegan cheeses on the market that are free of casein (an animal protein) make me gag.  I found Miyoko Schinner's book "Artisan Vegan Cheese" and I started trying the recipes in there.  Now, if you haven't purchased this cookbook yet, you should know that most of the cheeses take some time to make.  However, there are a few that are pretty quick to make. I've also found that I have to stick exactly to the recipe (which is very hard for me because I like to change things up so much).

Blended mixture first in sauce pan.
In my last post I've finally mastered the vegan yogurt (Yay!).  I found that I had to use organic unsweetened plain soy yogurt to culture organic unsweetened plain soy milk.  I tried to use coconut milk (MAJOR FAIL) and  almond milk (though it turned to yogurt, the whey separated).  I also found that the "potent" probiotic I used was lacking in strength to culture my yogurt.  So, sticking to Miyoko's recipe paid off.  It's a good thing it did because I needed this yogurt to make the vegan cheese that I'm blogging about today.  It's muenster cheese!  Fast and delicious!!!
After blended mixture has thickened after 5 minutes.

Though I'm not posting Miyoko's recipe for muenster cheese (it's not mine to give), I am giving everyone a link to her YouTube video.  It's the easiest of all of the cheeses I've made so far because it takes only 5-7 minutes from start to finish.  It sat in the refrigerator for only 3 hours and I put paprika around it to mimic the red on the muenster cheese.  I've tasted it and it is SO VERY similar to the cow version. This will become a staple in my house. I can have my vegan cheese now without gagging.  No animal protein or unsafe ingredients, period.  Here's Miyoko's video on muenster cheese: http://www.youtube.com/watch?v=3zbPLXONzXA
Once poured into the mold, it started to firm immediately.

If you love this recipe as much as I do, let me know.  Some of these cheeses take days to get to the finished product.  I will post them as they become ready, but for now, I am so EXCITED about making tasty cheeses the vegan way!
Finished muenster cheese rubbed with paprika.  It's pretty spot on. Yum!

Thursday, June 27, 2013

Vegan yogurt at last, baby!

VEGAN YOGURT...

I like yogurt, but I have struggled with the brands of vegan yogurt out there.  Silk makes a pretty good blueberry yogurt and I'm okay with the plain coconut yogurt by So Delicious.  However, I think they cost too much.  When things cost too much and I'm just iffy with the flavor, I get motivation to make it myself.  I'm that type of person.  I don't want to pay too much for things that I consider staples (things I eat more often than not) and I want to love what I'm eating!  

Last year, I began the process of making vegan yogurt.  It was a complete fail.  I used almond milk and added probiotics to culture it, but it was a complete flop. I threw the whole thing out.  This year, I bought Miyoko Schinner's book "Artisan Vegan Cheese" and I love it!  It has a cashew yogurt recipe in there (you'll have to buy the book for the recipe) that I tried to make three separate times this month (the first two times I did not stick with the recipe and they were a complete fail), but the last time was a charm!

I highly recommend Miyoko's book.

So, cashews and soy milk are not all that cheap, especially if you buy certified organic products. Making mistakes can be costly.  So, just like when life throws you lemons, make lemonade, I've learned to make vegan buttermilk from my flop yogurt experiments.  Instead of using a nondairy vegan yogurt to culture the milk, I tried using probiotics again, but again it was a flop.  Instead of throwing the whole thing out again (like I did last year), I decided to drain the clumped probiotics off of the milk, which had considerably thickened, but not cultured.  This left a thick buttermilk-like vegan milk, which I will use in various ways.
Vegan homemade yogurt on the left with a
failed attempt, now vegan buttermilk,
on the right.

Now, one of the main reasons to eat yogurt is for the probiotics.  Active cultures, such as L. Acidophilus, B.Bifidum, L.Bulgaricus,  and S.Thermophilus, are in most vegan yogurts. These cultures help give the body good bacteria to fight (or eat) the bad bacteria.  Probiotics also help in digestion and relieve constipation.  Google the many splendid benefits of yogurt cultures!

Now you may also buy probiotics in other forms (pill form, drink form), but I love variety.  Also, after so many failures in making yogurt from the pills, I'm beginning to think that the bacteria in pill form may have deactivated.  When trying to make yogurt from the pill form, I had failures.

I've finally used the nondairy vegan soy yogurt to culture and that worked.  Praise God!!!  If you're dying for the recipe, though I can't give it to you, Miyoko has a YouTube video regarding this recipe (see: http://www.youtube.com/watch?v=yYMJZkbDH9g).  When I made it just like she did, it worked.  I did not change a thing, but maybe in the future.  For now though, I'm going to stick by the original recipe until I'm sure I can do it by changing the ingredients!!!  This yogurt is delicious and creamy and I have not even added any sweetener to it yet.  I have a whole 32 ounce quart jar of it.  I'll be using this yogurt as my starter for my next batch.  I'm thrilled.

Cashew yogurt with a bit of agave drizzled on top with one
little lonely blueberry.
One of the main reasons I'm making yogurt is so that I can make vegan cream cheese.  I can tell this will be a tasty cheese.  I look forward to it in the days ahead, but first, I have to make my second batch of yogurt.

If you have made vegan yogurt, I would love to hear of your success or challenges.  If you love Miyoko as much as I do, chime in as well. 

Tuesday, June 25, 2013

Eggplant Dip that makes you flip!

EGGPLANT...

Yes, I write about a bunch of things I like to eat.  In truth, I have to have a taste for it before I'm motivated to make it.  Today, it's all about the eggplant.  I love eggplant and I eat it in various ways, but in the summer nothing is better than light foods.  Eggplant dip to the rescue!  You may know it as Baba Ghanouj.  It's a Mediterranean dish and I love Mediterranean foods.  So, decided to make some today for lunch.

When I was little, I could not imagine why they called this eggplant.  I remember looking for the egg in this plant. I knew that folks breaded it, dipped it in egg, and fried it up, but why they called it an eggplant, I did not know.  However, I came to find out that we can thank the 18th century Europeans for that name because they thought that a whitish variety of the eggplant resembled goose eggs.  Another little known fact is that there is some confusion of whether eggplant is a fruit or a vegetable.  Though we often think of eggplant as a vegetable and generally consume it with other vegetables, botanist label it as a fruit.

Nutritionally, eggplant has a host of vitamins (B-Complex vitamins, Vitamin C, Vitamin K), minerals (copper, manganese, magnesium, potassium), and antioxidant phytonutrients, which include phenolic compounds (caffeic and chlorogenic acid) and flavonoids (nasunin). Nasunin if found on the skin and protects the body from free radicals.  It has also been called brain food because it helps the cell membranes in the brain.  Eggplant is also beneficial in cardiovascular health and is a good source of fiber.  Google the amazing nutritional properties of eggplant for yourself!


The original recipe I used came from Mama's Lebanese Kitchen ... I usually stick to the recipe (http://www.mamaslebanesekitchen.com/dips/baba-ghanouj-recipe/).  The only thing I tweaked was the white vinegar.  I used about 1/4 cup of lemon juice instead.  I also used large eggplants and so I do not use as many.  Two large eggplants would suffice for this recipe in my humble opinion.  I do not remove as much of the seeds (only the very noticeable large clumps of seeds, which I generally eat), but feel free to remove them to your heart's content.  Though I think it highly unnecessary to remove all of the seeds, removing some will make it less seedy.  The more seeds you remove, the more eggplant you may need.

Also I cut the eggplant lengthwise and put olive oil on it and sea salt and roast in a 375 degree oven for an hour.  I let them stand for about 30 to 40 minutes before taking a spoon and scraping it out into the food processor.  Well, I guess I did tweak the original recipe more than I thought, but when I'm cooking, it has to be my way of doing things.  You can make it your way too.  However, I must say that I have messed up a few dishes by tweaking things too much on my first try.  Because of this, I suggest sticking to the recipe the first time and then changing things up after you know the process.

One eggplant sliced down the middle sprinkled with olive oil and salt
to roast for about an hour.

Garnish the Baba Ghanouj with whatever you like, I used chili powder, olive oil, and pickles.  I usually eat these with dry toasted bread (similar to zwieback) or toasted pita chips, but veggies are good too.  Enjoy!
Baba Ghanouj with dry toasted bread.

If you like Baba Ghanouj as much as I do, I'd love to hear from you!  Again, enjoy!!!